In addition to a strong recruitment website, there is more you can do to enhance the candidate journey. Blogs can serve many purposes, but the most important is that you write blogs that inform, inspire, and ultimately convince candidates. By understanding your target audience and distinguishing between different needs, you can achieve this.
Various strategies can be employed to strengthen the candidate journey, such as informing, inspiring, convincing, or activating the target group. In this blog, we won't discuss which strategy is best but will instead walk you through how to set up and use Booston’s revamped blog module. With Booston’s new blog module, you can enhance the candidate journey by showcasing blogs where it truly makes a difference. You can use Booston’s blog module in multiple forms and flavors, such as a blog feed, news feed, or to showcase why your organization or vacancy is so great. Read this article to learn more about which formats to use on your Booston recruitment website and which steps to take.
(Don't have a Booston account yet? No problem. Contact us and we’ll explore how you can quickly start using Booston’s Blog feature).
In this article, we’ll show you the steps you can take to strengthen the candidate journey, generate more traffic to your recruitment website, and improve application conversion.
- Preparation
- Setting up blog attributes
- Managing blogs
- Setting up blog and job pages
- Search Engine Optimization

1. Preparation
Before starting with Booston's revamped blog features, it's important to evaluate your current content and capabilities. Keep the following in mind: Which strategies will I apply? Which industries or categories can I distinguish? Which categories will intrigue and activate my target audience?
Start by outlining your strategy and identifying which industries or categories are relevant. Differentiating between relevant branches or categories should form the basis of your strategy. Think of branches like marketing and sales or categories like junior, medior, and senior professionals. This way, you can engage and activate your target audience with relevant blogs.
Once you’ve identified these categories, you can proceed with the next steps to set up Booston’s revamped blog module.
2. Setting up blog attributes
The first step is to set up blog attributes. Then, the blogs are linked to branches or categories. This allows you to display content that truly makes a difference.
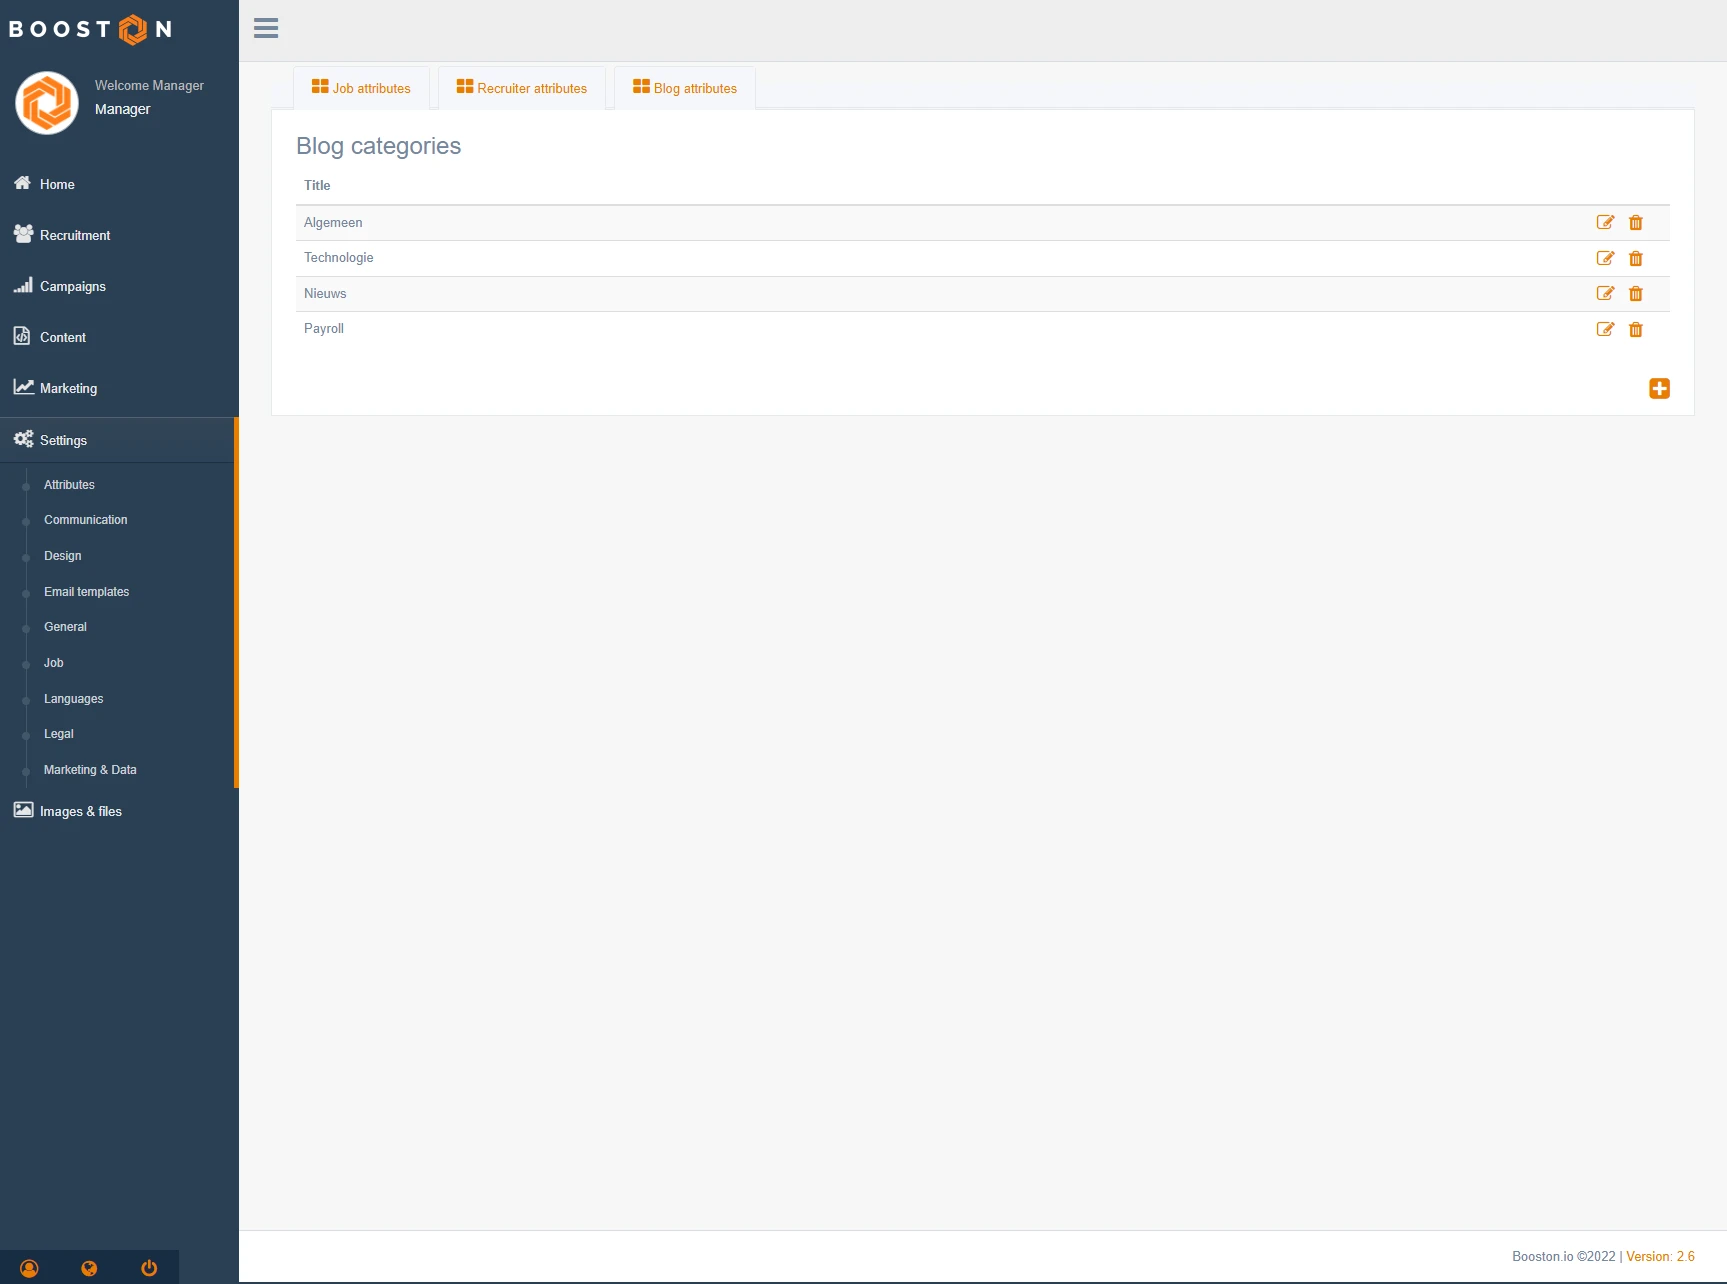
Open the Booston backend, go to settings > attributes, and select blog attributes. In this menu, you can easily add branches or categories. By adding these attributes, you create tags that you can link blogs to, making them easier to find on your recruitment website.
To display blogs in relevant places, blogs must be linked to vacancies. For this, use the general attributes. Go to settings > attributes and choose an attribute category that includes all relevant audiences. Add attributes if needed.
Working with an ATS? Then you need to create the attributes within your ATS. Ensure the attributes are linked to a vacancy that is live on your Booston recruitment website. This imports the attributes into the Booston backend.
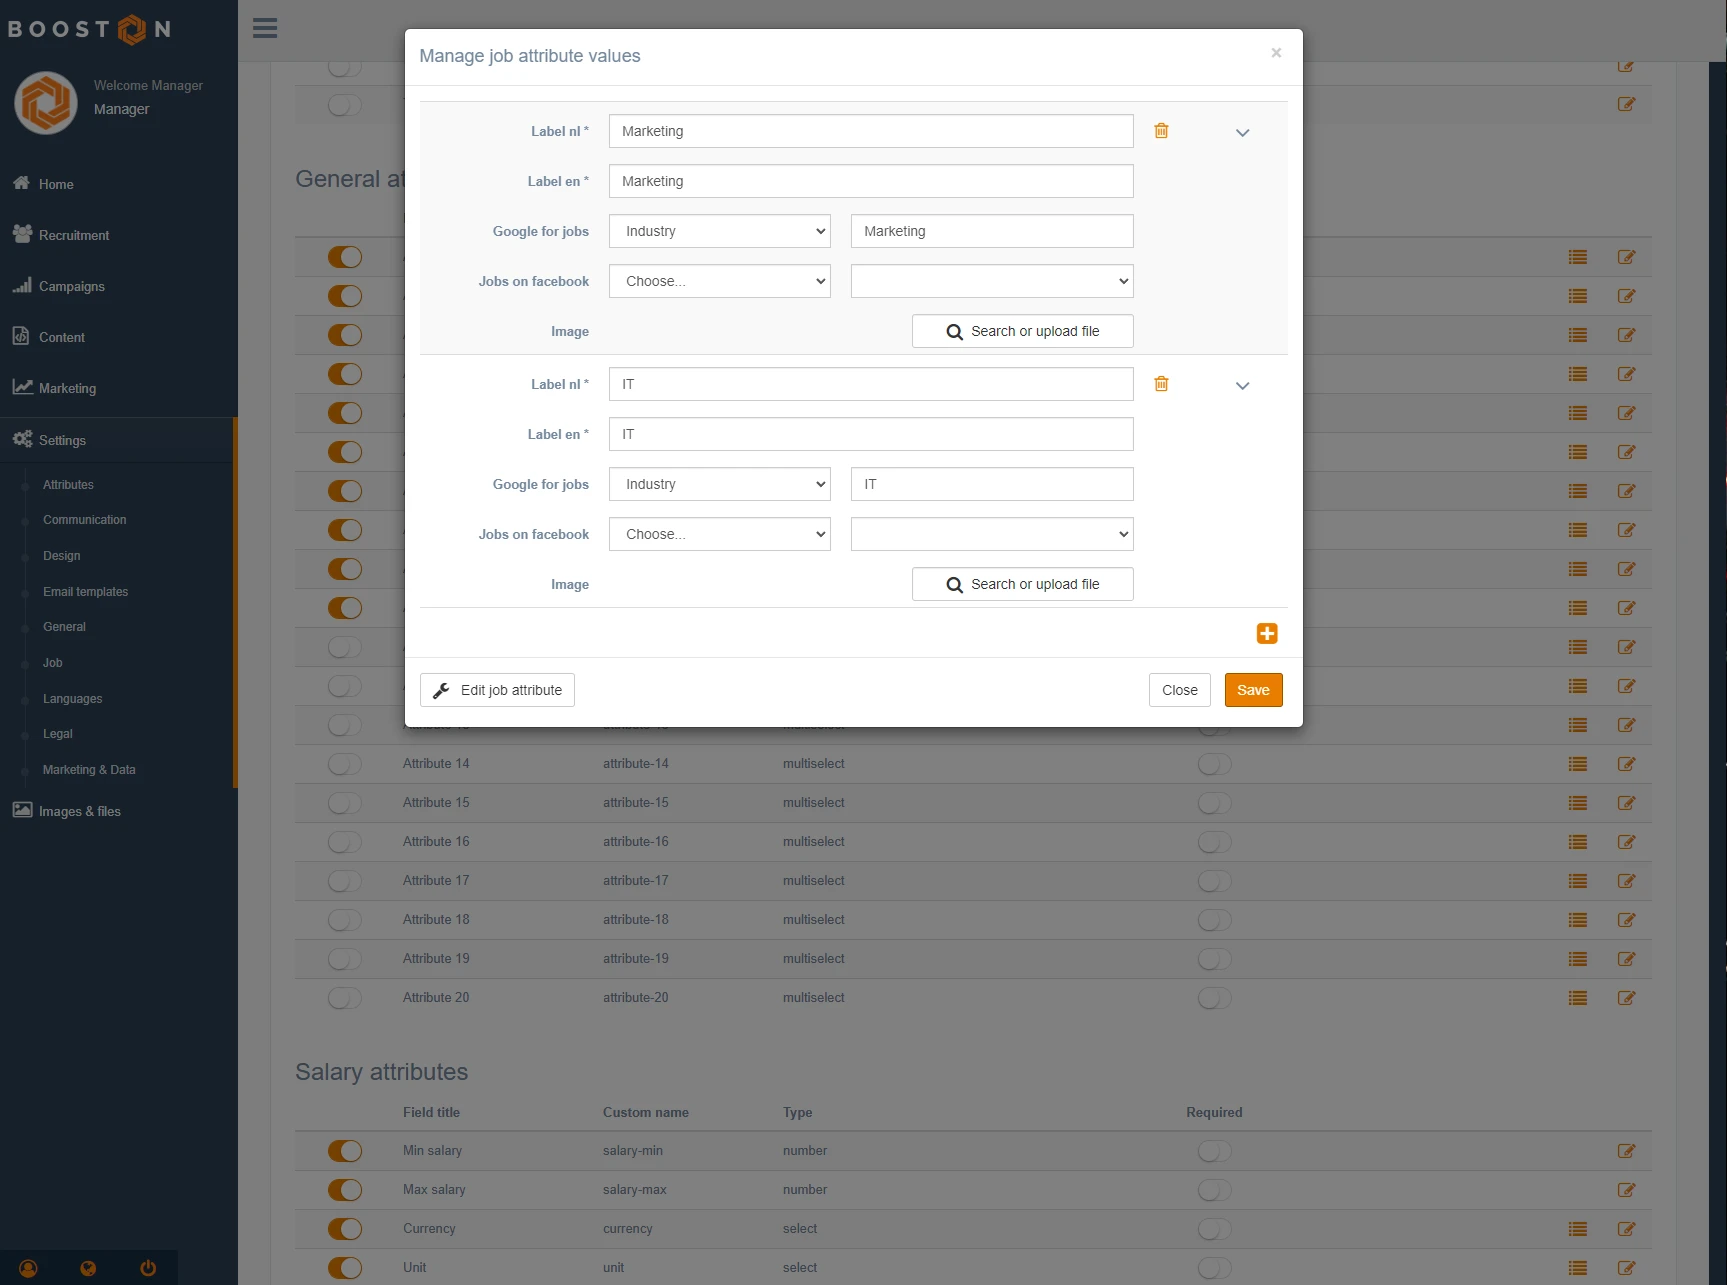
Don’t forget to index the attributes for Google for Jobs and other platforms. Already done this? Then you can skip this step. Go to settings > attributes, select the relevant attribute, and input the correct industry.
3. Managing blogs
In this step, you’ll create a blog. Already have one or more blogs on your Booston recruitment website? Go directly to 3.1.
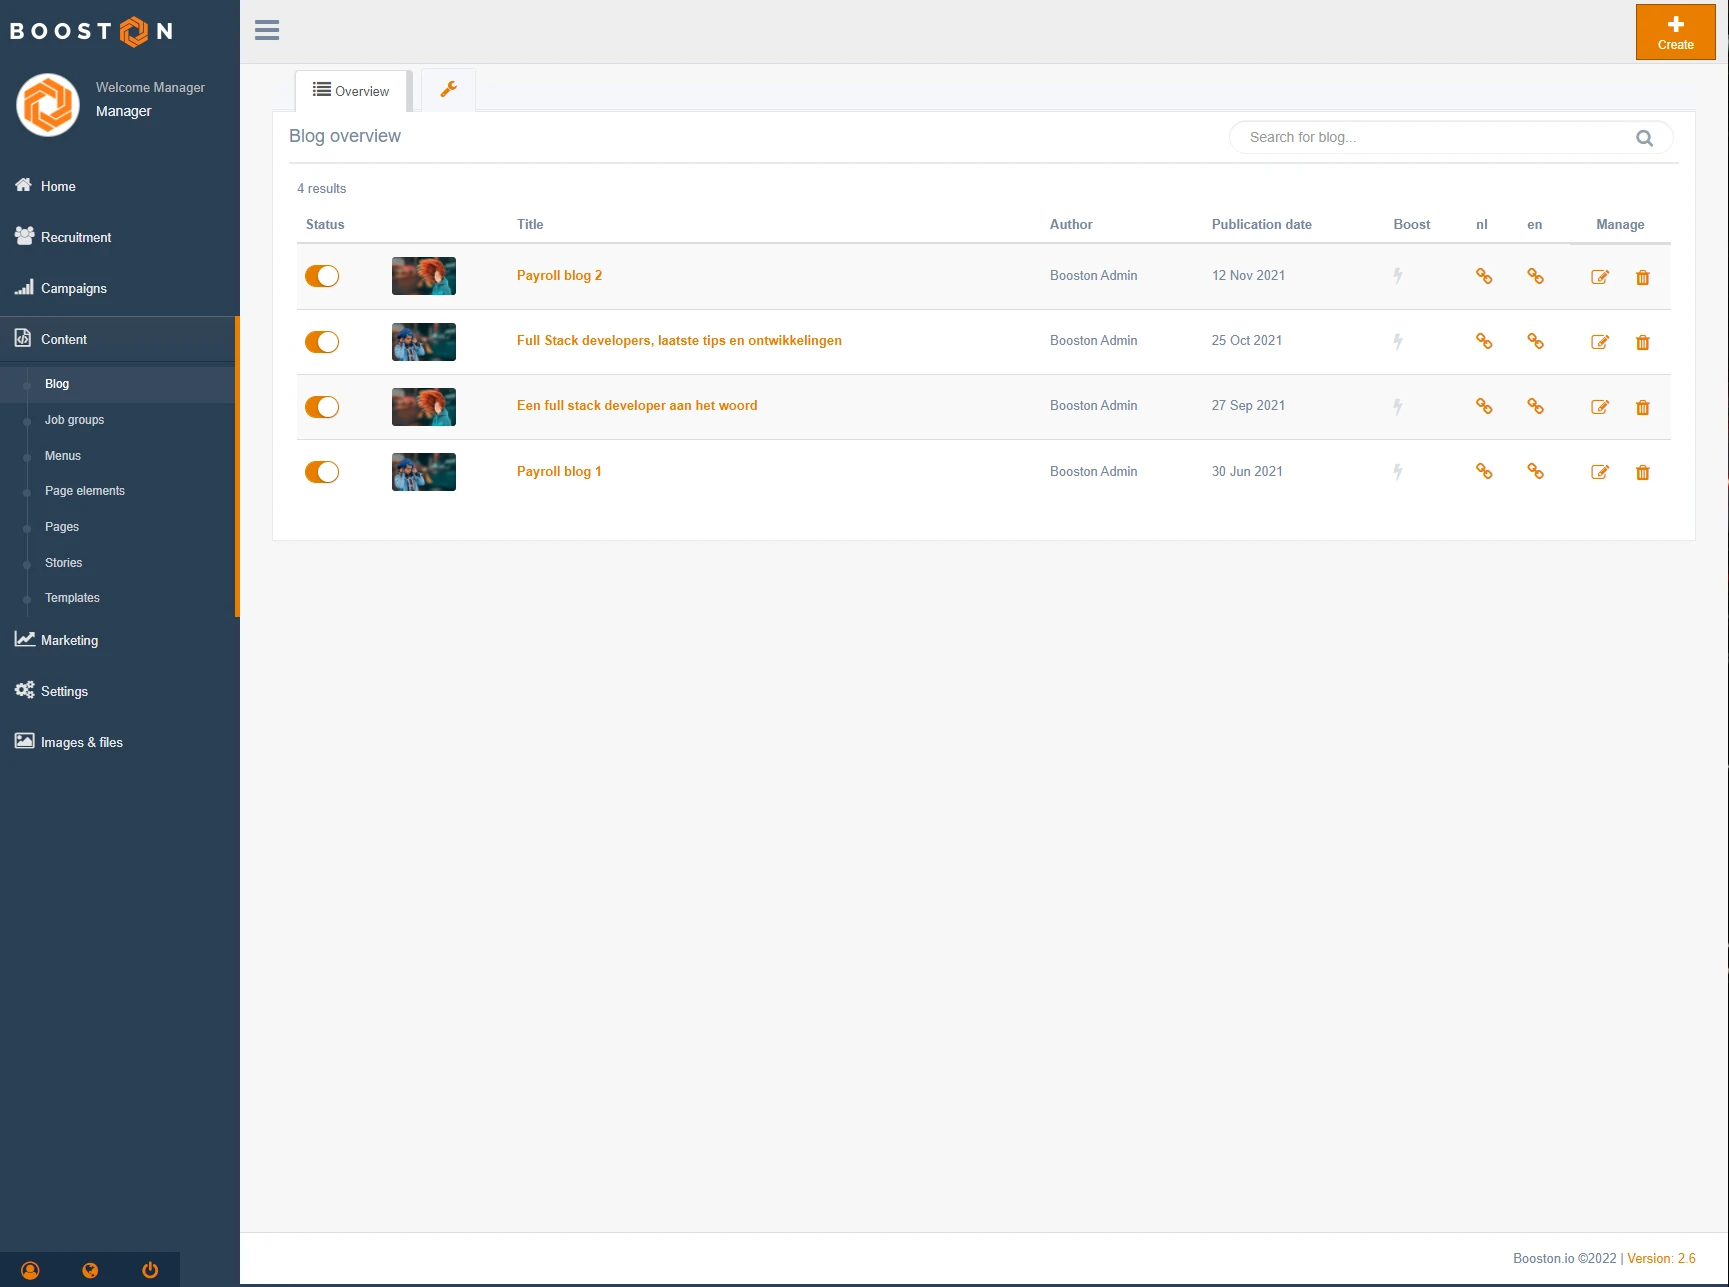
Open the Booston backend, go to content > blog, and click the create button. Select the languages you want to publish in and click continue. You’re now ready to write your blog.
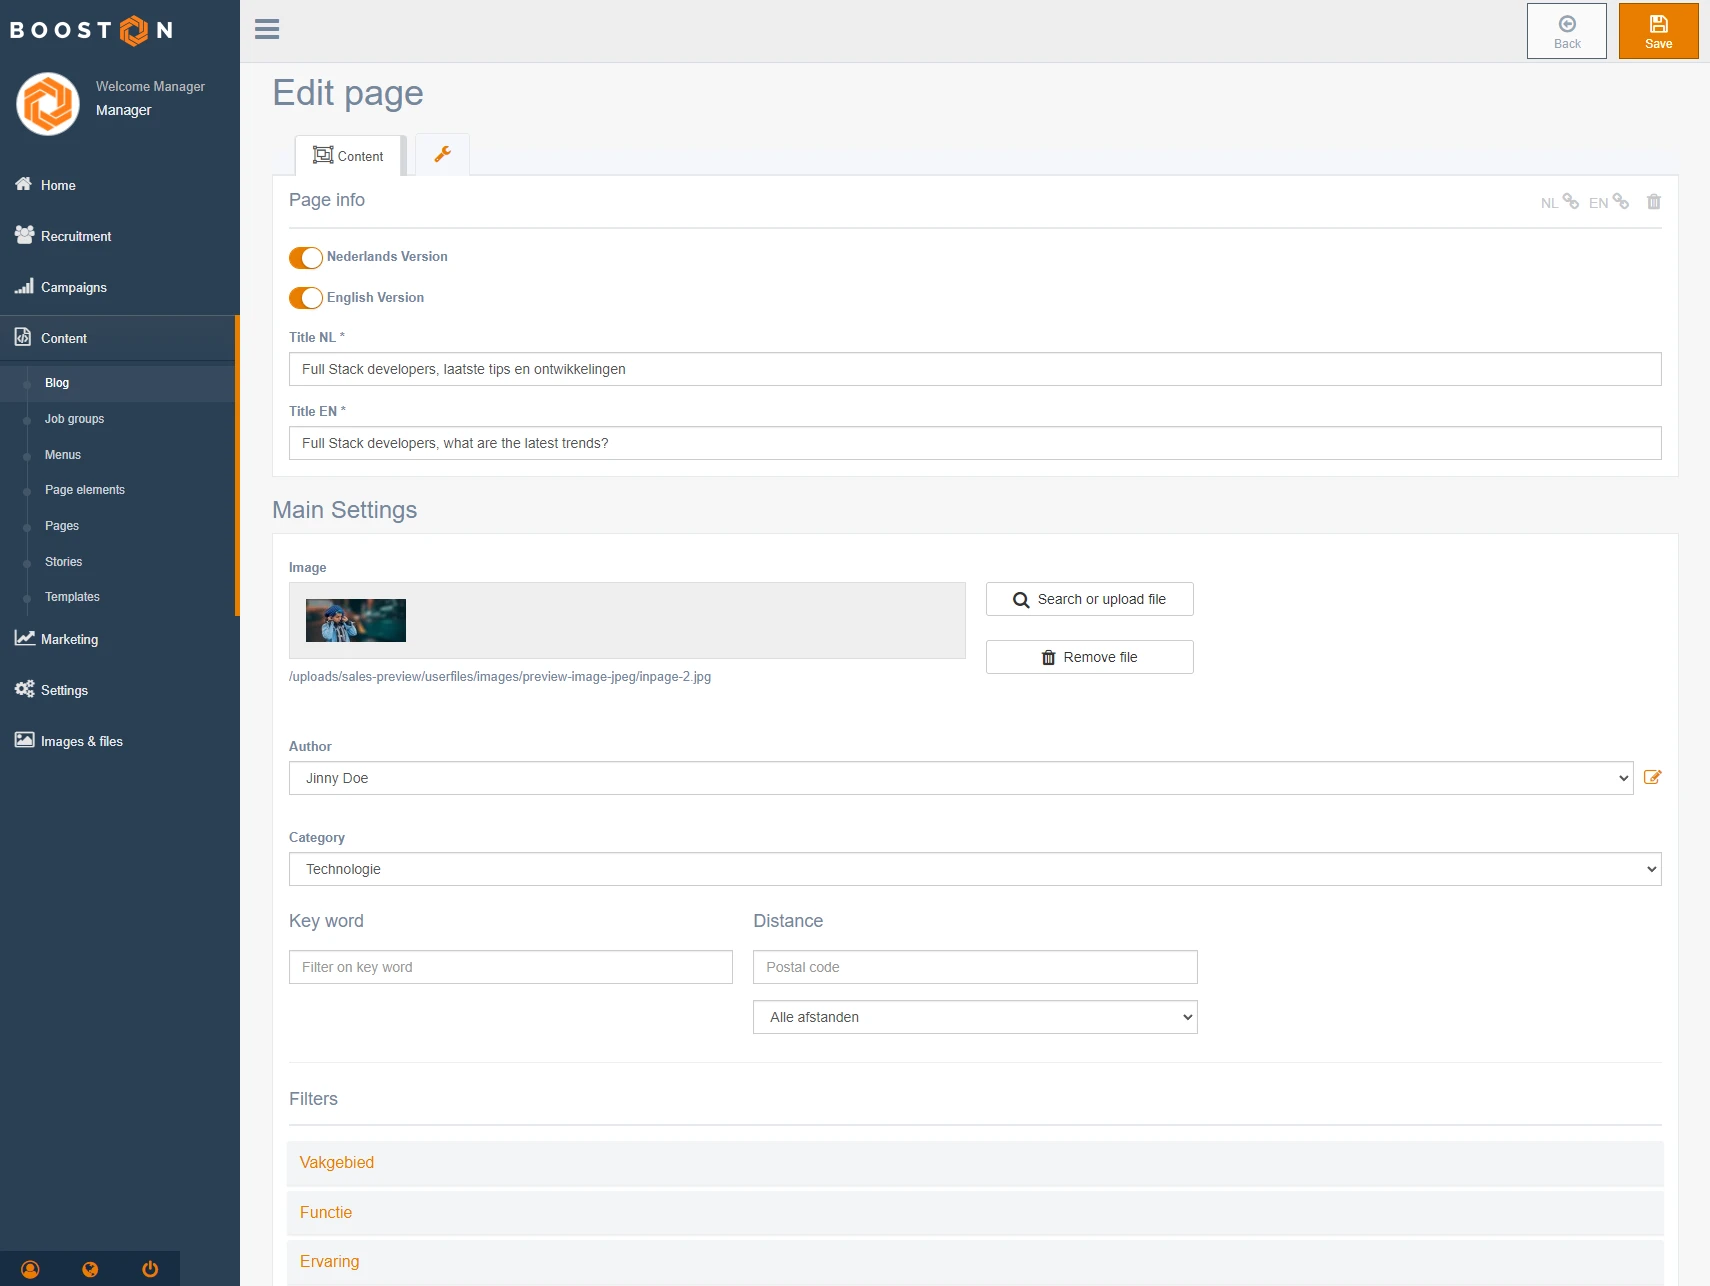
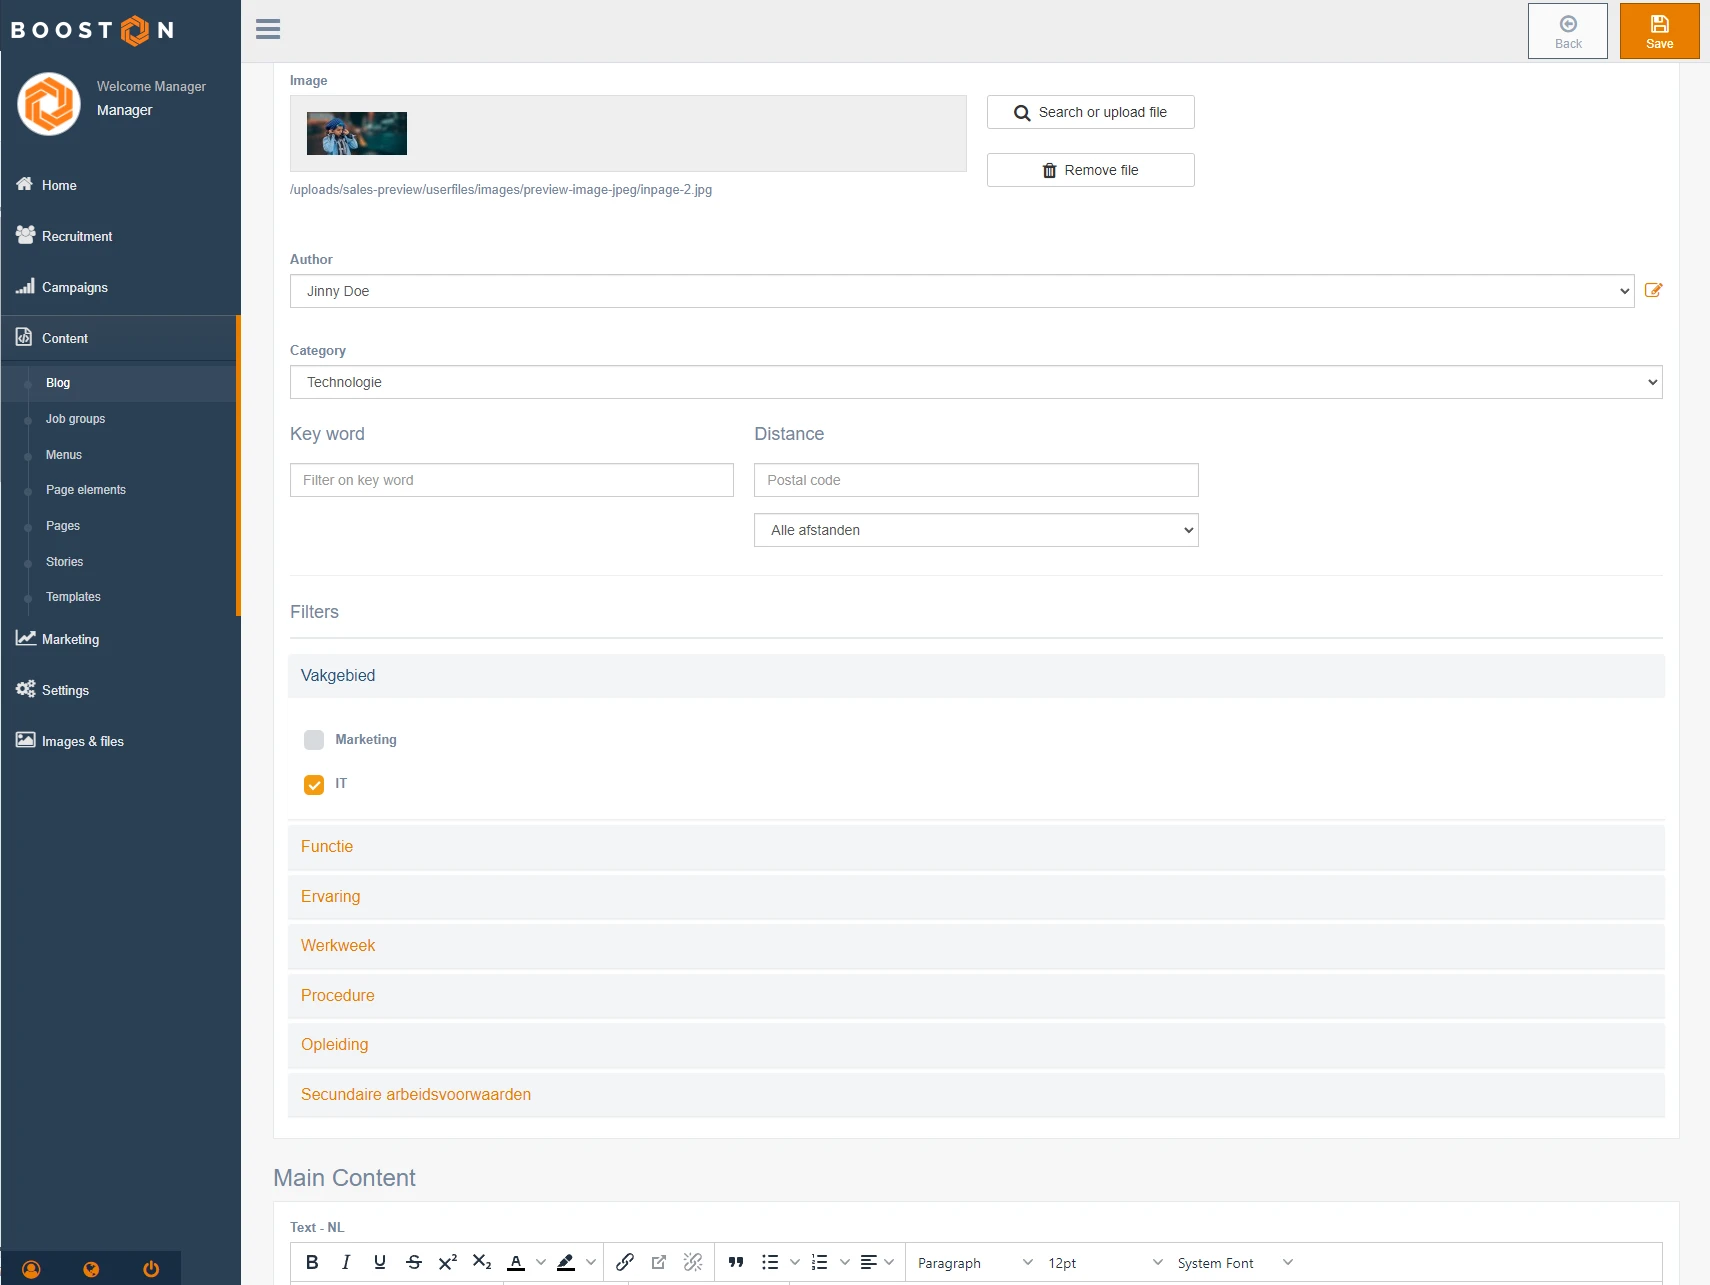
Start with the page info, where you can enter a title, add a photo, select an author, choose a blog category, and add keywords. Use a title relevant to your audience to ensure the blog is easily found on your recruitment site and search engines. Once all page info is added, start writing the blog. You can add text, photos, or videos in the main content area.
Ready to publish the blog? Click save and it will be live immediately. Want to schedule it? Click the wrench icon in the blog settings to select a publication date and time.
![]()
3.1
After creating the blog, attributes come into play. Attributes are crucial for displaying blogs in relevant places. In the main settings' subcategory, you’ll find filters. Select the prepared filters to link blogs to relevant vacancies.
4. Setting up blog and job pages
Done with the steps above? Now you can begin setting up the blog and job pages. Ensure all configurations and attribute links are correct. Without proper settings, features won’t function. All pages should have side elements, so select a side panel layout.
Imagine having many IT vacancies—wouldn’t it be great to display relevant IT content to candidates? Follow the steps below to display relevant content on job pages by linking IT vacancies to IT content. This enhances the candidate journey and improves application success.
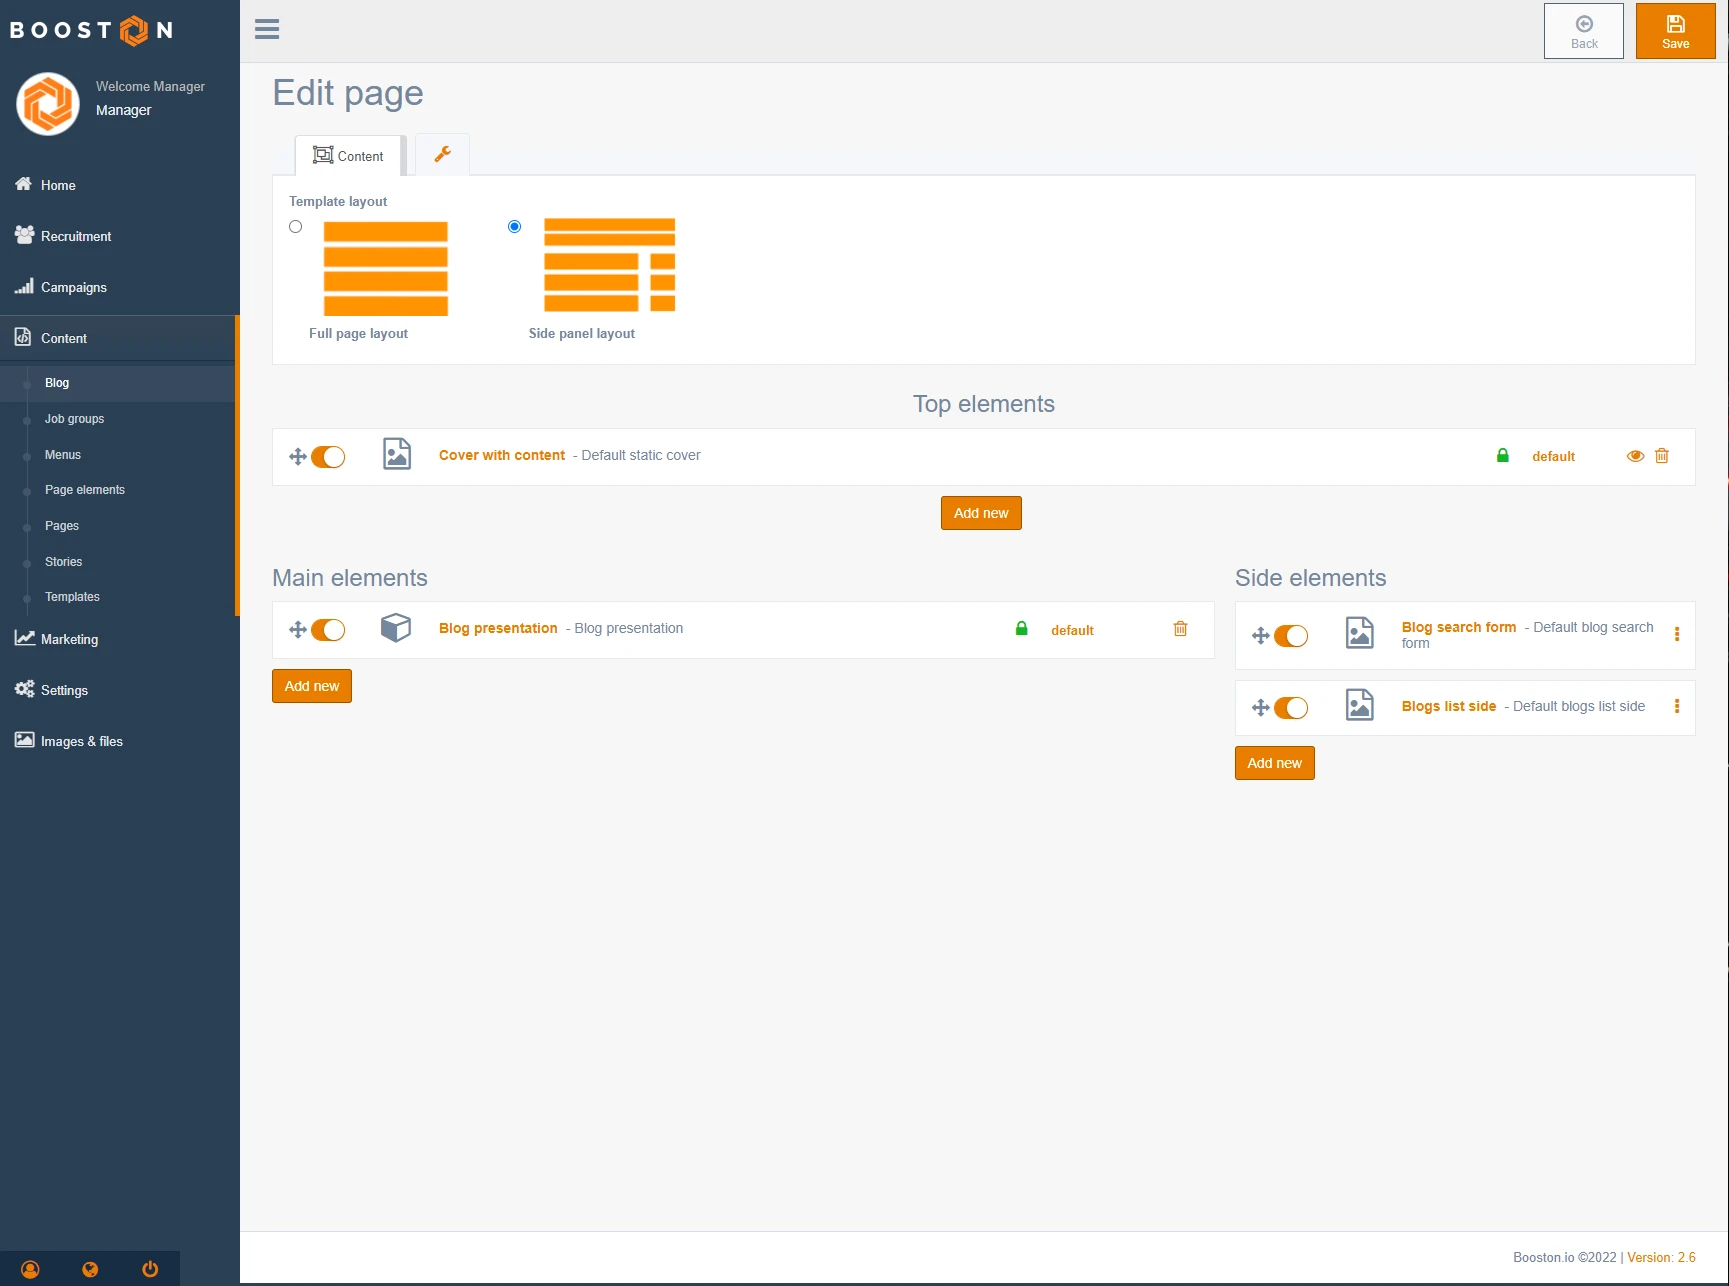
Start by setting up your blog page. Go to content > blog, click the wrench icon, and select job page. Here you can easily configure your blog page. This dynamic page applies to each published blog.
Below is an example of a blog page. Start by selecting a side panel layout and click save. Add the “Blog list side” element to enable blog display. Click the lock to edit the element or use default settings. Under blog presentation type, select “Only show blogs with matching job filters” to ensure only relevant blogs are shown—based on shared attributes. This results in an improved candidate journey.
Done setting up your blog page? Now set up your job page. Go to recruitment > jobs, click the wrench icon, and select job page. Repeat the steps as described above.
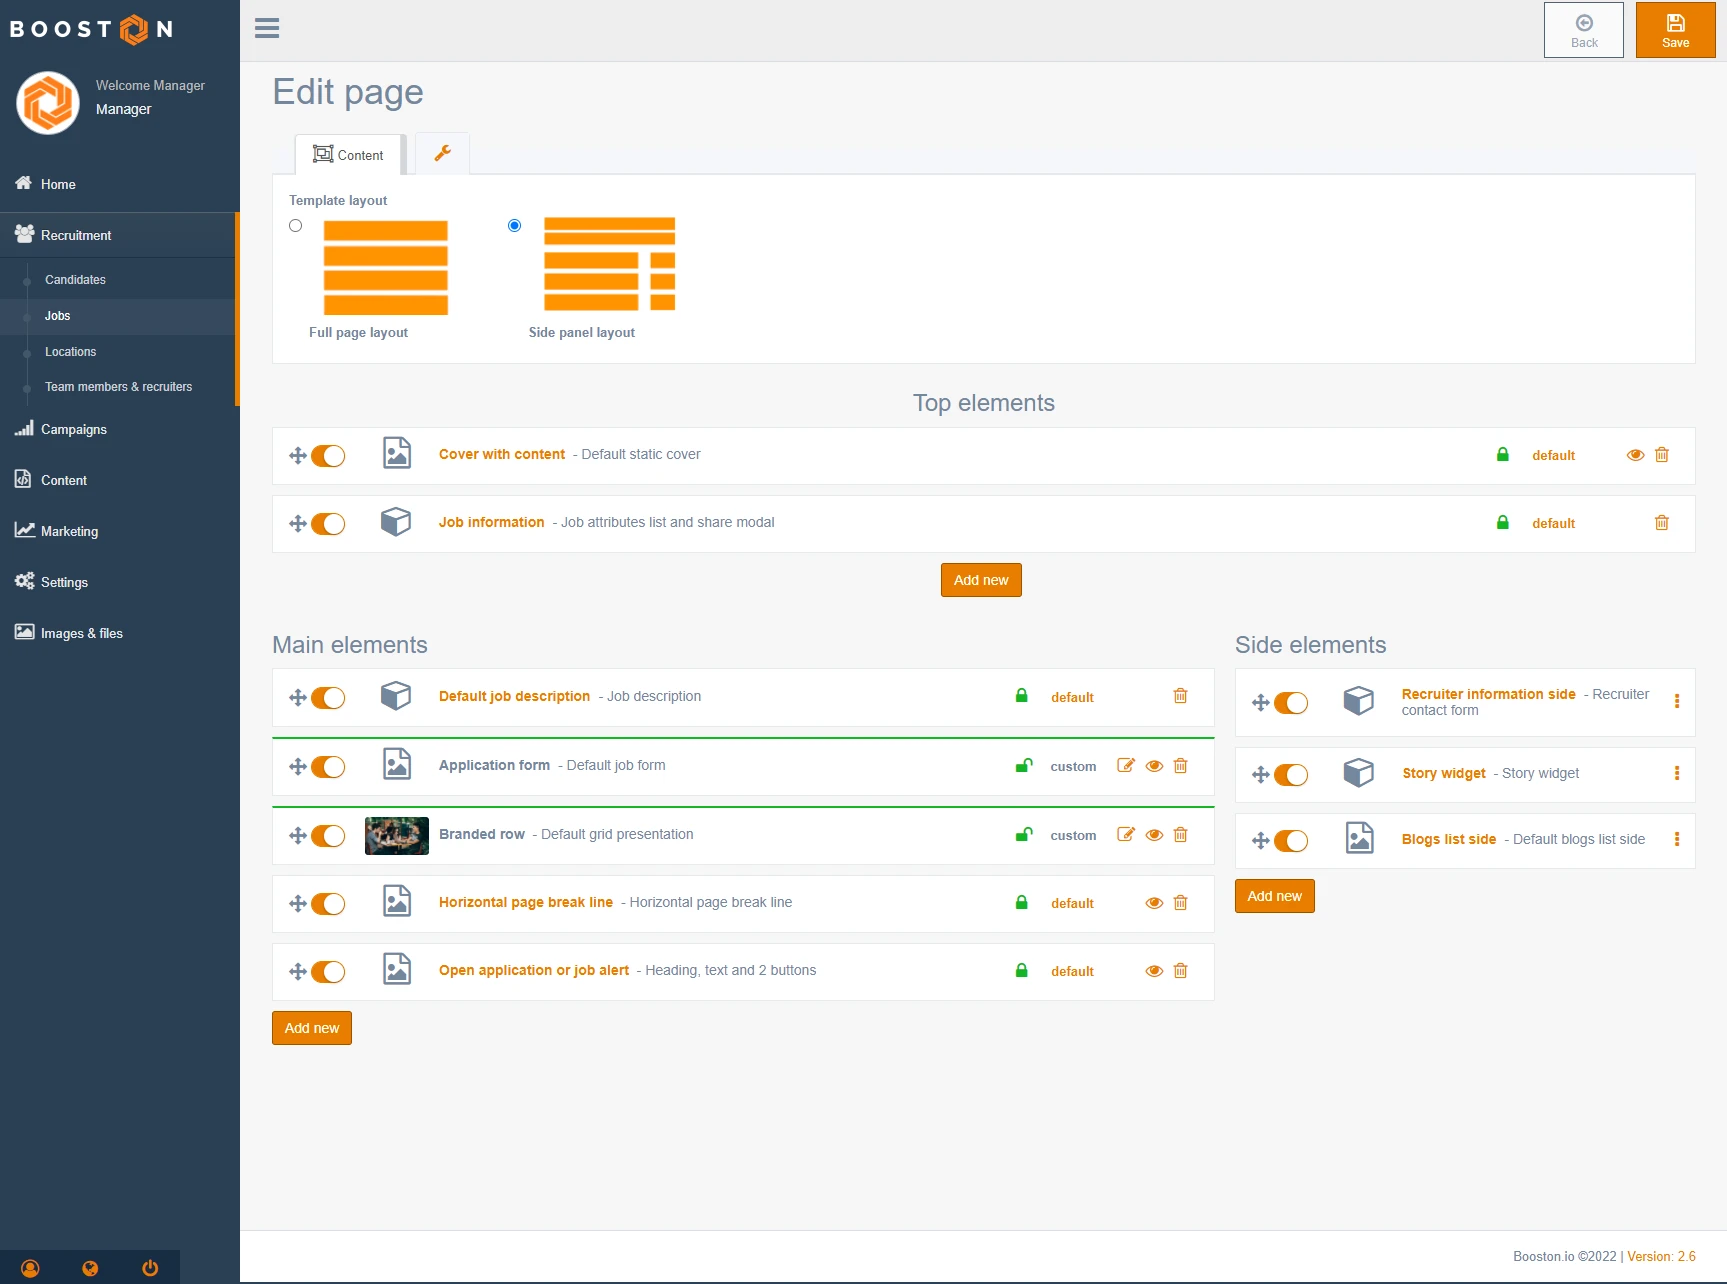
Now that both pages are correctly configured, blogs will appear where they truly make an impact. This strengthens the candidate journey and can improve application conversion.
5. Search Engine Optimization
Besides displaying blogs in relevant places, you also want to generate more traffic to your recruitment website. No problem! Booston’s blog features make it easy to add relevant titles and meta descriptions, improving your search engine visibility.
Meta descriptions are used by search engines to encourage clicks to your recruitment site. This increases your site’s relevance and traffic:
Developers Google
A meta description tag generally informs and interests users with a short, relevant summary of what a particular page is about. They are like a pitch that convinces the user that the page is exactly what they're looking for” (Developers Google, 2021).
Want to increase your visibility and improve your recruitment website’s discoverability? Go to content > blog, select the blog you want to edit, and click the wrench icon. There you’ll find all SEO settings, including meta descriptions.
Want to know more about writing high-quality meta descriptions? Read this article.
Also interested in Booston’s job marketing capabilities? Request a free demo.


